We wonder how they managed to get the effect- do they edit it using the Photoshop or they are using camera that worth more than what we can afford.
It is very easy if you know the technique. I will show you what you should have and must do capture the desired image and what more can you do to get better image.
 I shot this image on the way to Fraser Hill by Bentong route. I was not prepared or plan to create this image but I know how to get it using whatever equipment that I have at that moment.
 First of all you must have camera that can change to manual mode. In manual mode, you are the one that control the shutter speed, aperture, ISO and also where you want to focus.
What we are trying to do is to get slowest shutter speed that you want to get the movement of the water turn to silky smooth/creamy. We can achieve this by:
- turn to the smallest aperture (the bigger the f number, the smaller the aperture)
- use the lowest ISO like 100
- if we still cannot get the shutter speed that we want, we can use Neutral Density filter (ND filter) or Graduated Neutral Density filter (GND filter). These filters will slow down the shutter speed.
Tripod is a must since we are using slow shutter speed. We need to make sure that there is no movement when the aperture is open and the photo is tack sharp.
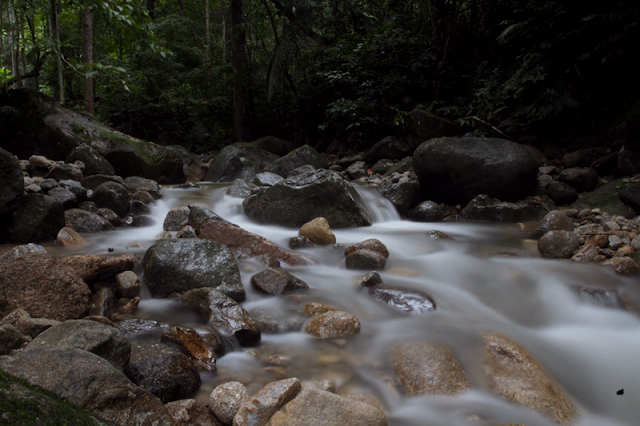
The setting of the first photo:
- Shutter speed: 13 seconds
- Aperture : 32
- ISO : 100
- Focal Length : 17mm
- White Balance: Auto
- Image Quality: sRAW
As you can see, the colour of the photo is very dull since I shot it using RAW file. The reason I'm using RAW because for landscape photo- try to get the best file that you have, get as many data in the photo, we can change the white balance later in the photoshop (JPEG file you cannot change the white balance), we can make few image in different exposures if you want and lastly by using RAW file, you are the one that will decide how the final output will come out not decided by the camera.
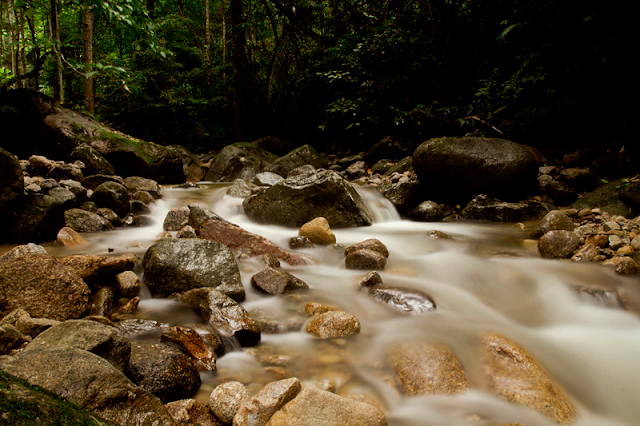
 The photo above I have change the white balance to warmer color, remove the sensor dust on the bottom right, increase the vibrance/saturation, sharpen and increase the clarity slider.
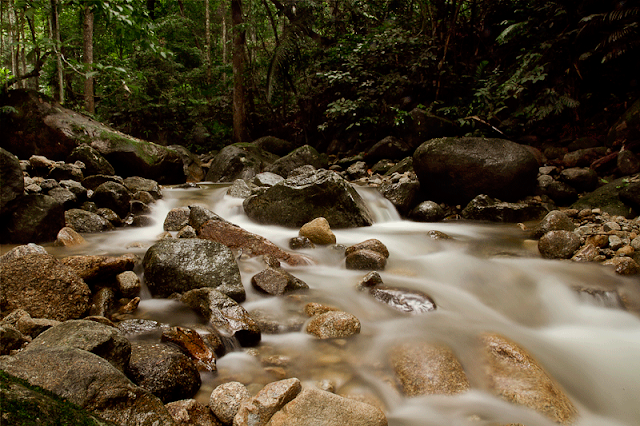
 Here I make a duplicate copy in correct exposure for the background. Since I do not use GND filter to balance the foreground and background- in RAW we can make muliple exposures without degrading much of the image.
Then I merged the two images and use layer mask and brush to erase the background. By doing this step, we can have more detail in the shadow area.
Lastly I play a bit with color adjustment


thank madee....
ReplyDeletesama-sama
ReplyDelete